Monday, March 31, 2014

Fun Ways to Use Washi Tape

I'm still working on getting my craft room organized so you'll be my posts will be a little crafty-heavy for the next little while. To follow up my washi tape storage solution, I've rounded up a few of the ways I've used washi tape around the house, as well as some super fun ideas from around the web.


We do a lot of color-coding around here. Washi tape is a fun way to identify items you don't want mixed up. For example, both our son and I have inhalers. A quick strip of washi tape means we don't have to worry about grabbing the wrong one.


Along the same lines, we use washi tape to color code our toiletries when we travel. I made this toiletry wrap several months ago for our toothbrushes.


We use the free toothbrushes from our dentist when we travel. At the moment, they are all different colors, but sometimes they are the same, so washi tape makes it easy to keep our toothbrushes apart.


A few months ago I moved our family calendar to our kitchen wall. Living with a brain injury means I don't have a busy social schedule. I soon realized that there was plenty of room for me to add my menu calendar to the week calendar...all with a little help from washi tape. 

Another popular labeling use for washi tape is to color code each family member's chargers, like this example from Delicious Spaces.


Washi tape is also pretty great for labeling cords, like this example from Neat Method. If I didn't have such awesome in-home tech support (aka The Hubby), I would be labeling all of the cords to our TVs, DVRs, Wii, and our techie gadgets. As it is I just stay away, far away!


One of my first home decor projects after we moved in the dream house was to make a glitter mirror. It's not quite washi tape because it was a lot harder to find two years ago. 


Washi tape is an easy way to spruce up a picture frame...or a contribution chart.


It's a little hard to see, but our son came up with the idea of using "his" washi tape to decorate his bedroom door.


I love this idea to from Crab & Fish to cover light switches with washi tape.


Using washi tape to create frames is a no-commitment way to add some color to your galleries. I like this example from iVillage.


My son's favorite idea in my Washi Pinterest board was this washi tape rocket from Sweet Rose's Studio


He also loved this idea from RS Designs.  Both ideas are low-cost ways to customize what you already have, a great solution for kids who change interests often!


Speaking of kids, here's a way to for little ones to decorate their toes without making a mess with polish. I think it might be fun for big kids, too! Thanks to Lebenslustiger for the idea!


I've seen cookie cutters as tree ornaments before, but I thing A Night Owl's idea to use washi tape is brilliant. I think I will be busting out my glittery washi tape next Christmas. 


I used knife racks all around my house. I like how Kim Vallee covered hers with washi tape.


I use these exact gift tags on totes all around our house. I think these washi-wrapped labels from Etsy seller Melissa Marie Russell are so creative. 


Lastly, I know a lot of people have noticed that tea lights are just the right size to be dressed up with a little washi tape. What Happened Next posted a pretty selection of washi-adorned tea lights.


You can find more washi tape ideas on my washi tape Pinterest board.

Follow Jen | de Jong Dream House's board crafts :: washi tape on Pinterest.

Linked to:
Creativity Unleashed linky party * Fluster Buster's Creative Muster link party * Make it Pretty Monday linky party

Saturday, March 22, 2014

Quilt #6: Molly's Monogram Quilt


I'm continuing to catch up on my completed quilts. Today I'm sharing the sixth quilt I finished (seven months ago!). This quilt was made for my niece, who shares my love of purple. I had the idea for this quilt when I was working on my third quilt, which was also a monogram quilt. This was my first quilt after my quilt along quilt, during which I received a crash course on quilting. 


I loved the purple tulips in this Heidi Grace Family Floral from Joann.  I cut 35 6.5" squares (two of which were used for my first half square triangles).


I cut 29 6.5" squares of these purple polka dots.


I cut 16 6.5" squares of this green polka dot fabric.


With each quilt I make, I attempt to learn something new. For this quilt, my big new thing was half square triangles. Looking through the photos I took, I made a lot of mistakes, but the end product turned out well, and I got over my fear of triangles.

I used the method of using two squares to make two half square triangles (HST) at a time. First, I lined the squares up, right sides together.


I pinned the squares together. Seven months later, I rarely pin.


I drew a straight line from one corner to the opposite quarter.


I treated the line I drew as an edge, and stitched a 1/4" from it, on both sides.


I used my rotary cutter to cut over the line I drew, resulting in two half square triangles that looked like this.

The hardest square for me to figure out was the center one. I have lots of photos of unsuccessful attempts at this square and only this one of the desired outcome. If I recall correctly, there was a lot of weeping and gnashing of teeth. I ended up making a lot of triangles and trimming down until I found the magical proportions.


I learned that when you make triangles out of squares, you have to increase the size of the squares in order to make your HSTs work with your squares. Now I know to refer to this chart from CT Pub Blog:

Rotary Cutting Numbers for Side and Corner Setting Triangles (from C Publishing)

Once the squares were ready, the piecing went together very quickly. At this point, I was still piecing in rows. I've since learned that piecing in blocks tends to result in straighter seams. 


I also didn't know about lining up seams, so when I had seams like this, it was happy dumb luck.


Top done!


I was happy with how it turned out, for my fourth quilt, but if I were to do it again, I would have done the bottom of the M differently, like this.


For the back, I used purple dot minky. I did not use a batting layer because I made this as a summer quilt. 


Pinned and ready to quilt. 


This was only my second quilt that I machine quilted (as opposed to making a rag quilt). I kept it simple with diagonal lines. 


This was only my second time making a binding. I referred often to the book, "Teach Yourself Visually Quilting." It was the best first book on quilting I could have purchased.


Pretty pressed seams.


The book didn't tell me how to figure out how much binding I needed, so I found some bad advice on the internet. This is how much binding I had left over! Now I just cut a strip of my binding fabric and eyeball around the edge of the quilt to see how many strips I need. I round up, but I never have this much left over!


Bound, labeled and done!


The binding was tricky because the fabric was super stretchy, but we'll pretend the whole thing looked like this. 


Front and back. 


This quilt is D-tested and D-approved!


Thursday, March 20, 2014

Washi Tape Storage


I was first introduced to washi tape about two years ago, shortly after moving into our house. I don't remember which blogger wow'd me with their "pretty tape" but I do remember going into Joann and getting a blank look when I asked if they had any. I intended to use washi on my laundry room mirror, but I had to use something else instead.

Since then, I use washi tape on occasion around the house and have amassed a small collection. My craft room is still primarily used for quilting, but I wanted to display my tape in a way that each roll would be easy to access.

I've tried a few different options over the last year, but I think I have finally found a system that will work for me. I inadvertently started the process last year when we transformed Marissa's room into my craft room.

It started with a fat quarter I found at Joann.


I loved the pattern and color so I used it to cover a 12"x 18" sheet of metal from Lowes. The original intention was a magnetic board near my sewing table.


I love that I only need one fat quarter. No cutting required.


Perfect size.


I used duct tape to secure the fabric over the sheet metal.


At the time, I wasn't sure if I would be keeping this idea. If I were to do it again, I might have used some sort of sticky spray on the front to adhere the fabric. Without it, the fabric will pull a little bit, but it's not a problem for me.


For a long time, I hung the sheet on the wall behind my sewing table and used it to hold up photos. (You can also see that I added a little ribbon to jazz it up). When I switched to a smaller table (photo to come), it looked out of place so I started brainstorming a new use.

I was also looking for a way to use the metal bobbins that I found out that I wasn't supposed to be using with my sewing machine. (This resulted in a little tweak to my bobbin holder).


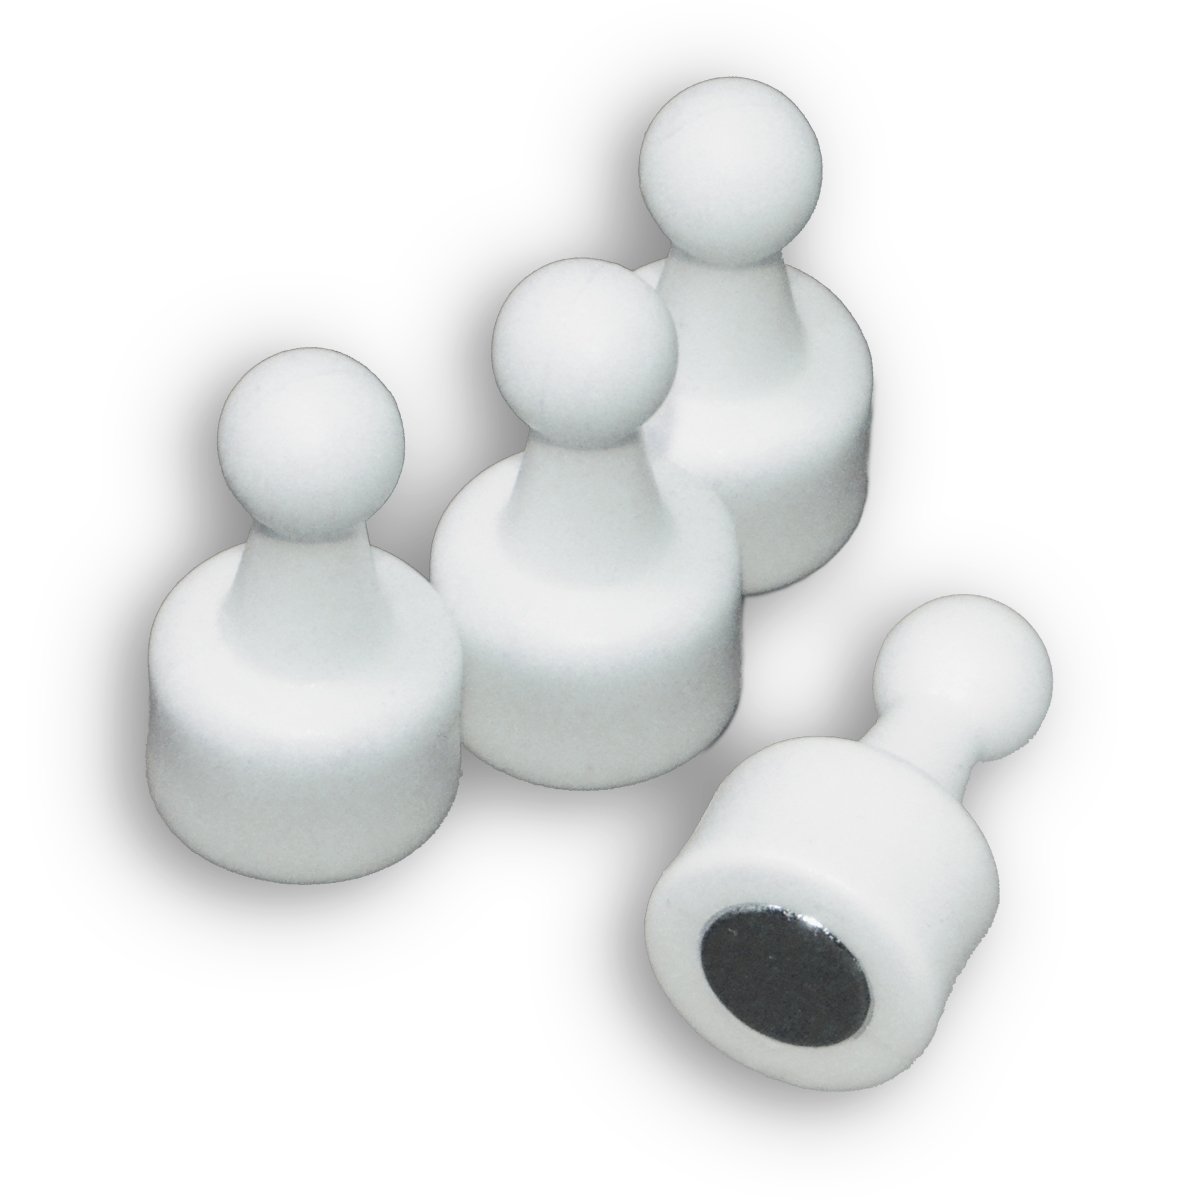
Here's a close up. Again I used CMS NeoPin Magnetic Push Pins  I bought on Amazon.


I connected a push pin to a round magnet, then added the bobbin over the push pin.


I like that I am able to quickly grab whatever roll I need without having to take it out of a container or off of a rod. 

In addition to my solution, here are a few other options:


3. de Jong Dream House
5. Barbara from The Picnic Basket, as featured on Studio Calico
Related Posts Plugin for WordPress, Blogger...