As you know, we are in the Netherlands enjoying the company of our Dutch family. We didn't want you to think we forgot about you, so I invited my blogger buddy, Lauren to say hello and share her pretty turquoise pantry with you. I first "met" Lauren when I commented on her post that encouraged me to create an "About Us" page. (If you've checked out our "about us" page--and our stats tell us that lots of you have--you can thank Lauren!) When I found out we would be going to Orlando, Lauren was kind enough to offer lots of fun, inexpensive non-Disney things for our family to do. In fact, my favorite day of our entire two week Florida trip was spending the day with Lauren and her husband Mark at her beautiful lakefront home where we enjoyed a yummy homemade lunch and got our craft on!
Here's Lauren...
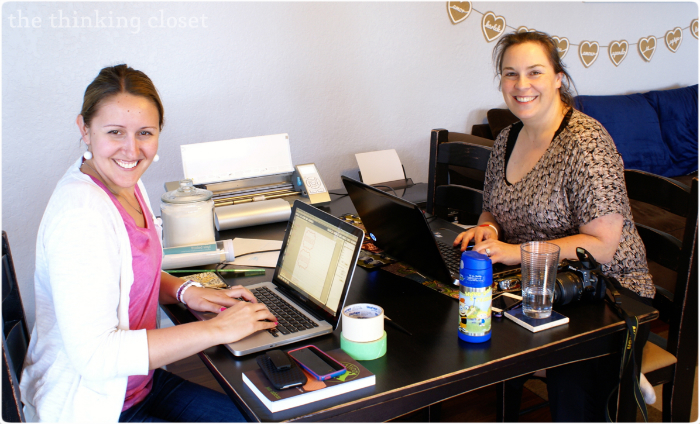
Hi everyone! My name is Lauren and I blog over at The Thinking Closet where I share all manner of things crafty and d.i.y. I'll have you know that I am a huge fan of the de Jongs and their amazing dream house!
As Jen shared with y'all in her 3-2-1 Blast Off Shirt post, we had the honor of meeting and crafting together this past May during her family's visit to Orlando. (If you were curious, Jen really is as warm and friendly in person as she is on her blog...and her son just as adorable and precocious as you might imagine.)
When Jen invited me to stop by and "meet" her readers through a guest post, I clicked my heels with glee and decided to dig through my archives for a post worthy of the task. I landed on an oldie but a goodie, one from first week of blogging that is ready for its "second spring" here at the de Jong Dream House.
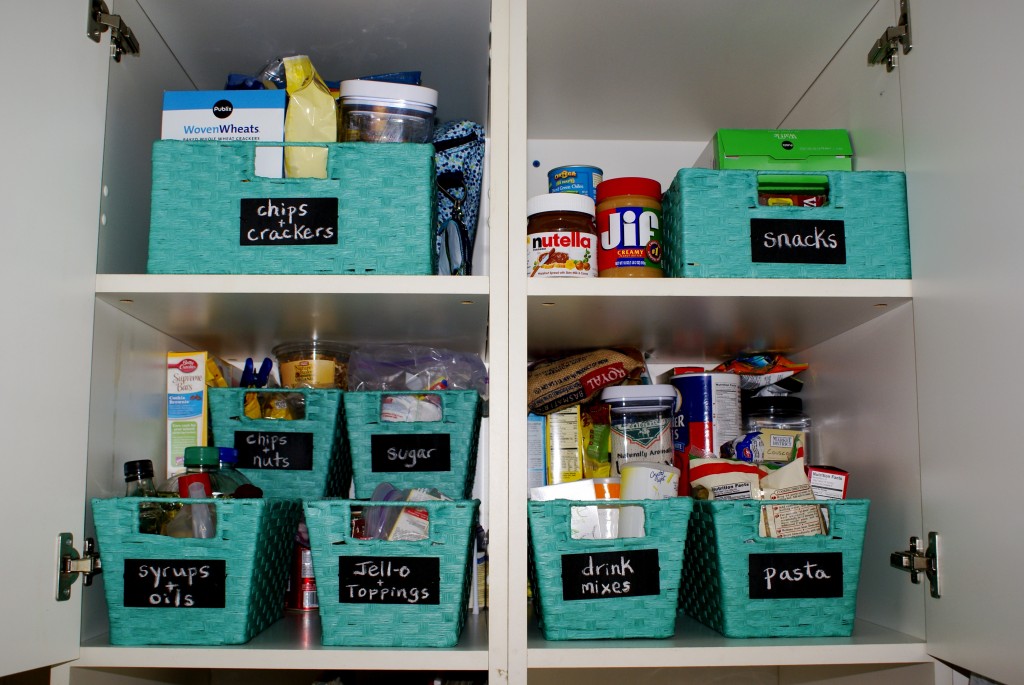
So, here you have it, from The Thinking Closet vault, DIY Wooden Chalkboard Labels (or the tute formerly known as "If You Like it Then You'd Better Put a Label On It"). Because we really can't get enough chalkboard in our lives, now can we? Enjoy!

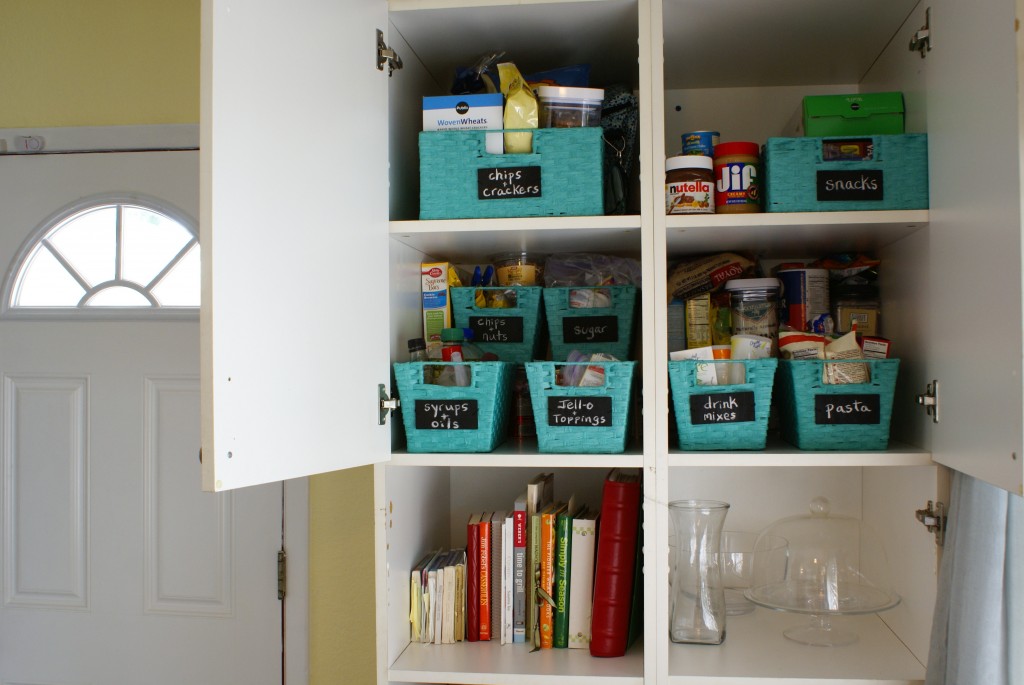
I love the look of them, as well as the fact that they're re-usable. Need to change the contents? No problem. Just wipe off the old label and chalk on the new one! Below is a tutorial on how I created mine.
SUPPLIES:
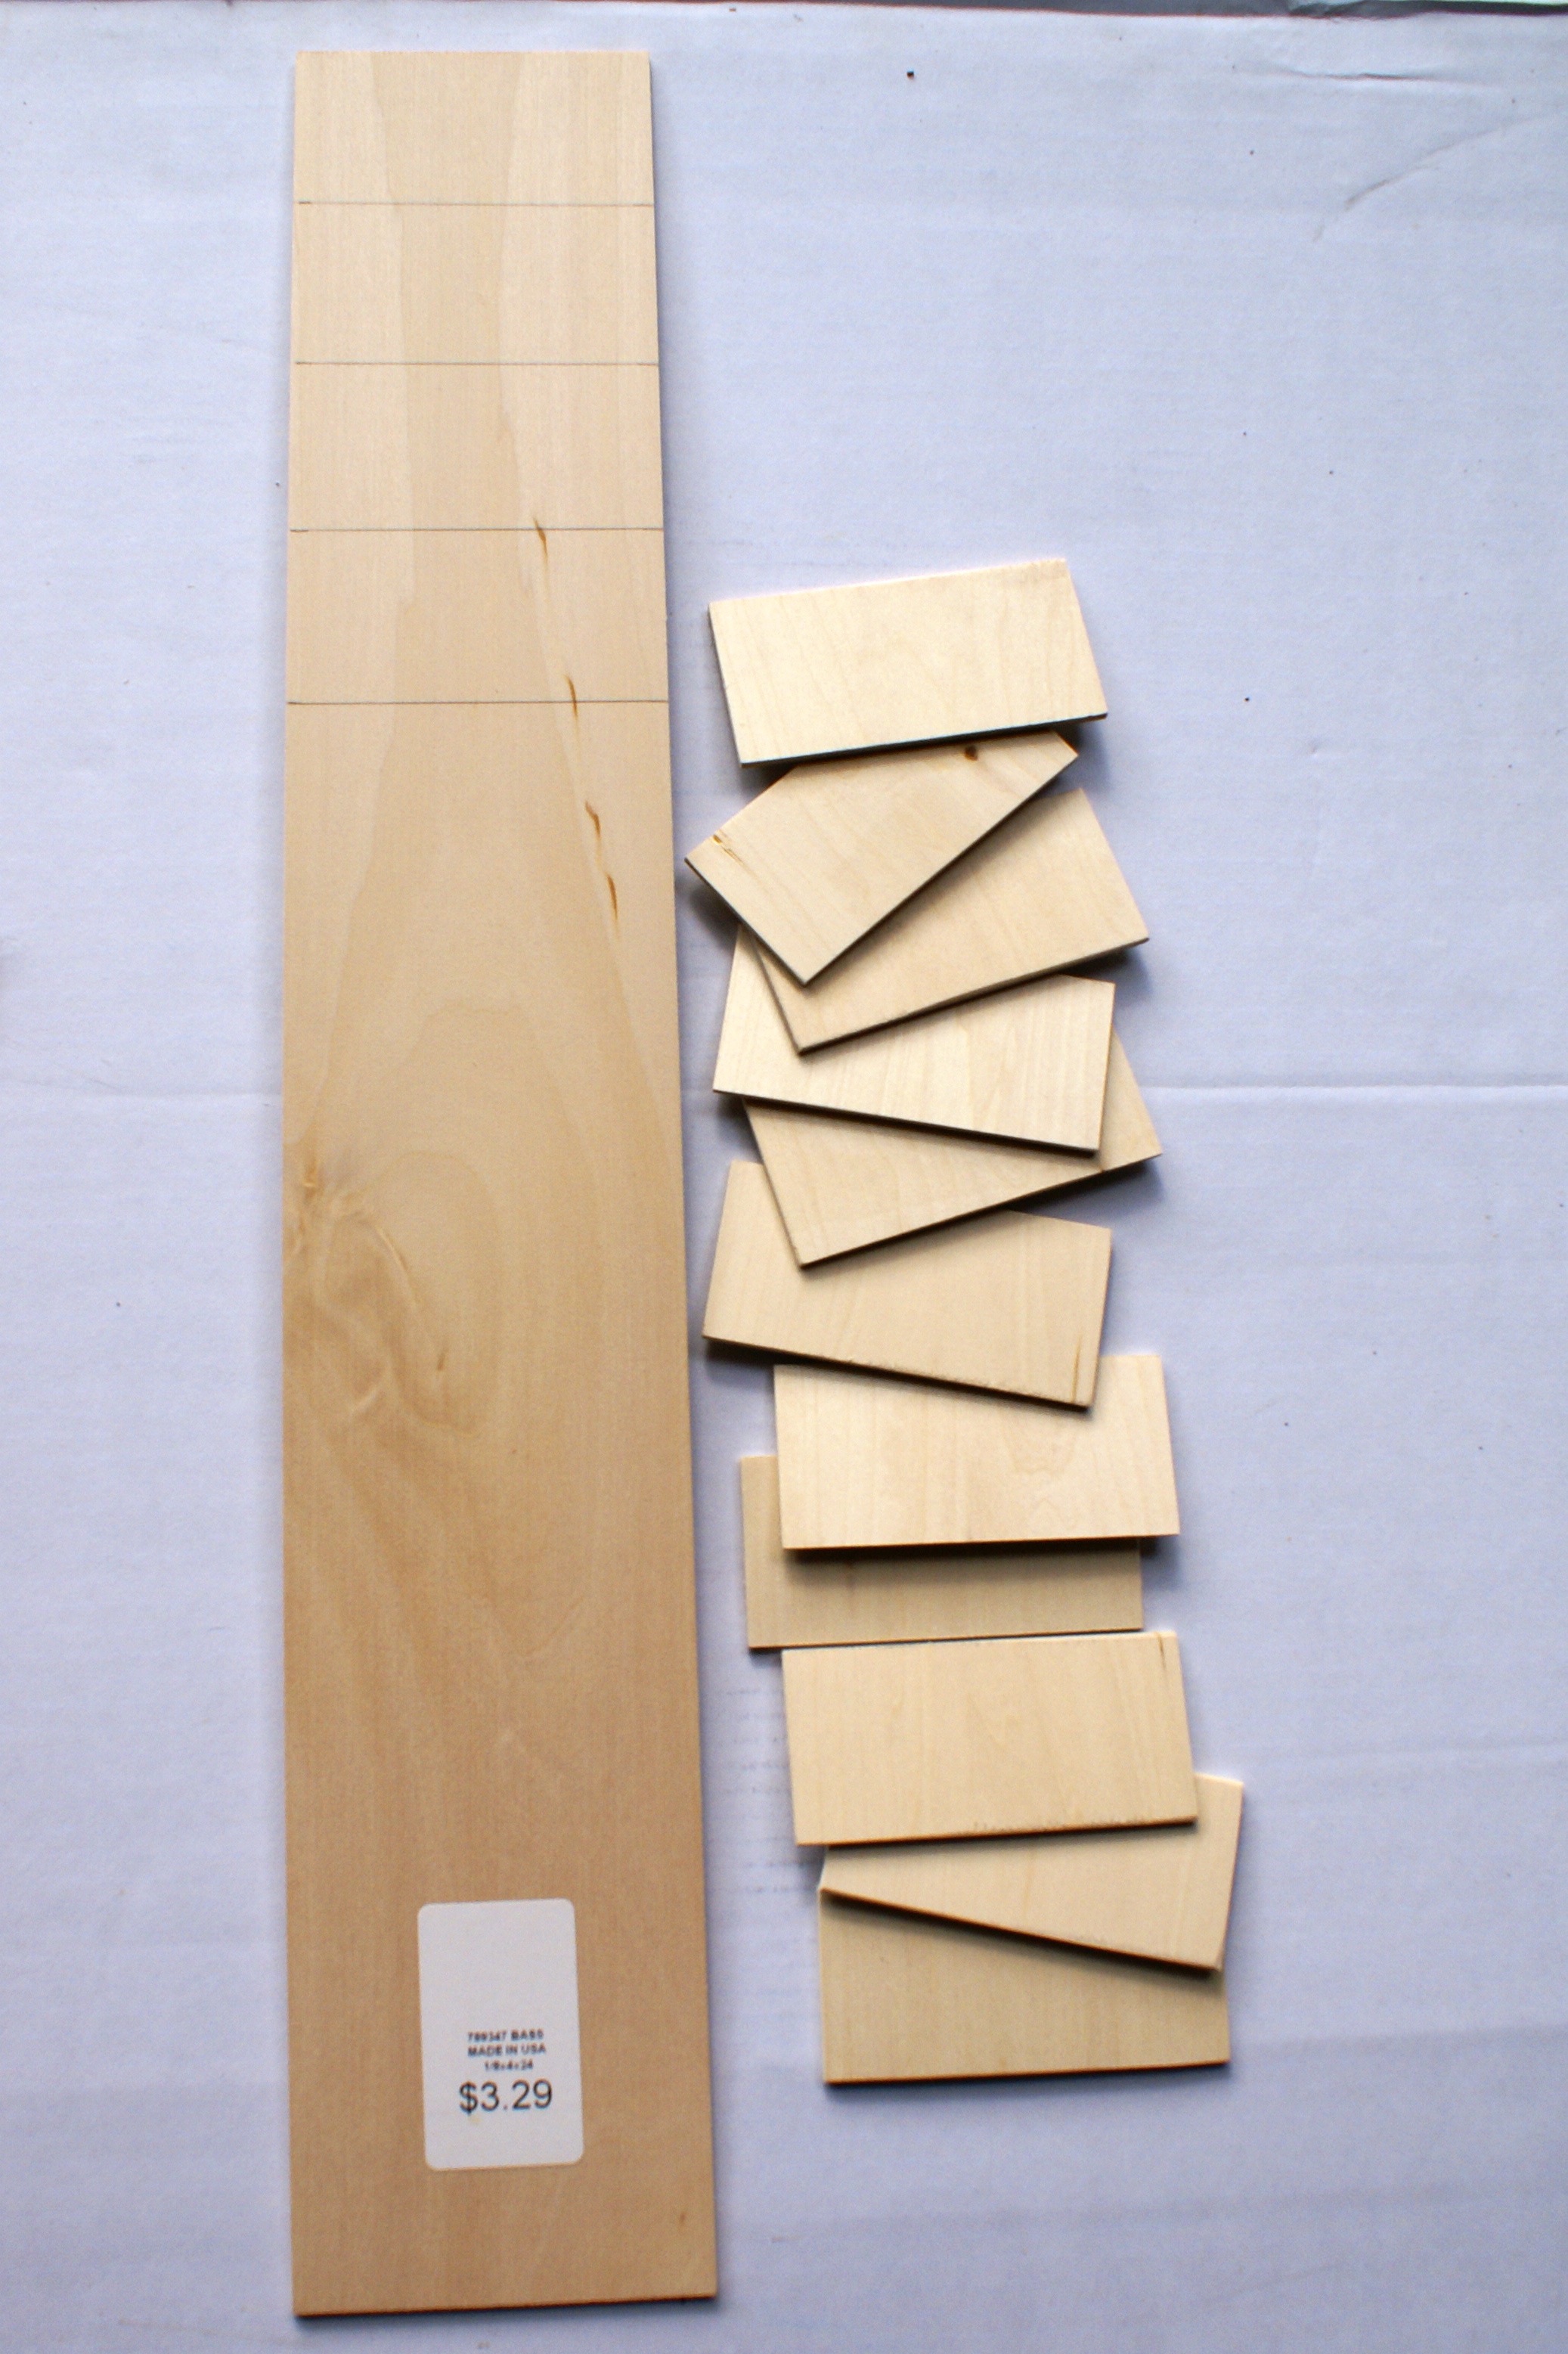
- Wood ovals or rectangles. Alternatively: enough 1/8" x 4" x 24" craft wood ($1.65 each at a store discount of 50% off) from which to cut your labels. I bought two and had leftover wood.
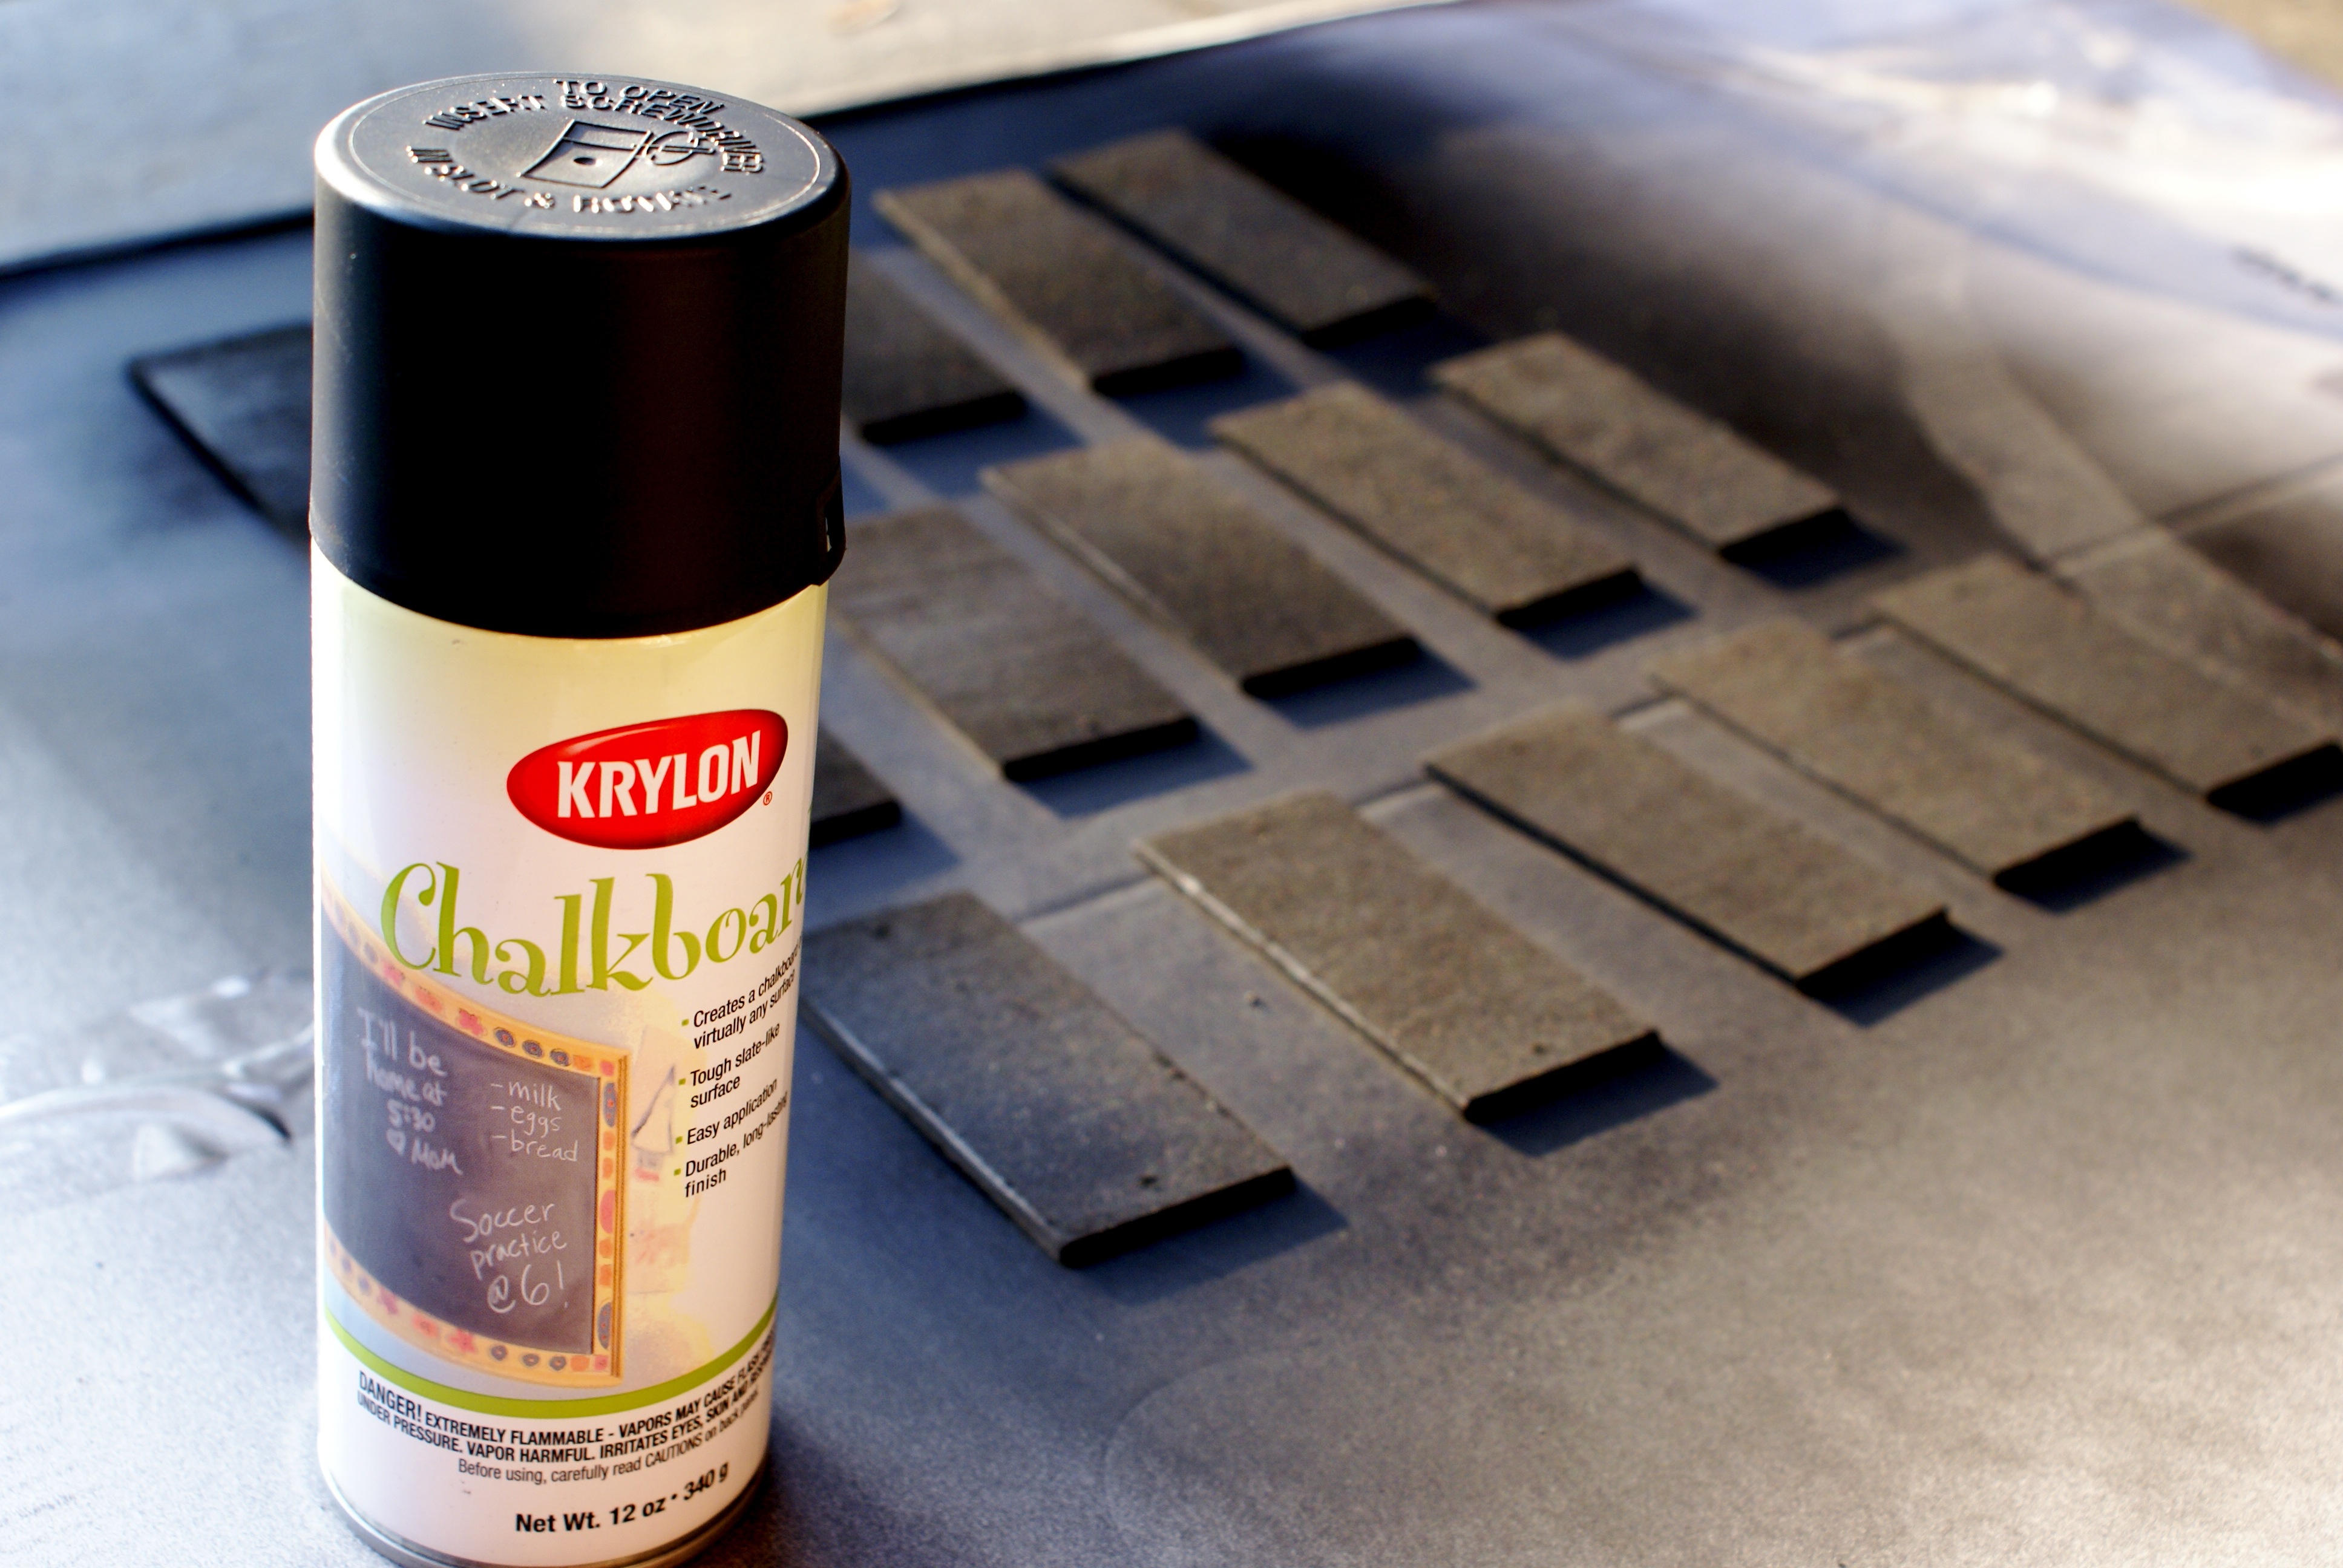
- Krylon Chalkboard Spray Paint. Sold at most craft stores. I got mine at Jo-Ann's for $4.19 (40% off using a coupon).
- Fishing line, thread, or twine.
- Dust-free chalk or a chalk marker. $1.29 at Jo-Ann's
I was looking for pre-cut wooden ovals or rectangles, but I just couldn't justify buying them for $0.99 each (Hobby Lobby). So, I just picked up two slabs of craft wood (1/8" x 4" x 24") for $1.65 each on sale. Then, I marked the wood at a size that would work best with my baskets (4" x 2") and got a quick tutorial from my hubby on how to use his miter saw. With safety goggles on and ear plugs in, I cut 15 wooden rectangles to serve as my labels, sanding the edges of each to smooth out any rough spots.
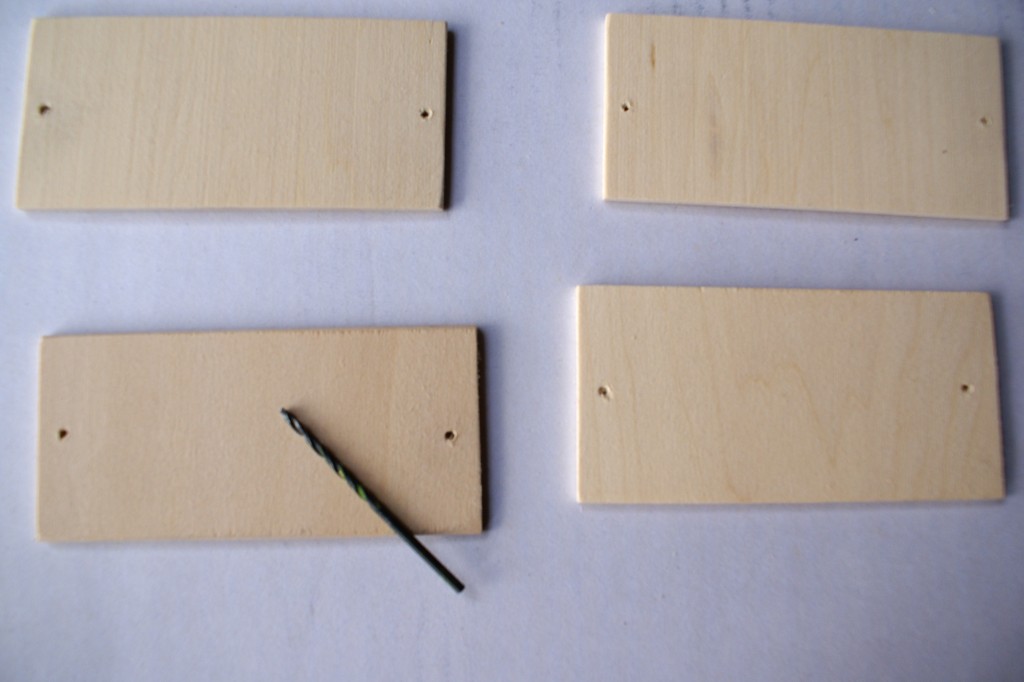
Step 2. Drill two holes on either side of the label.
I used a smaller drill bit and was able to drill through three rectangles at a time using a clamp on our workbench. A quick re-sanding around the holes and the pieces were ready for their paint!
Step 3. Give the labels a few coats of the Krylon Chalkboard Spray Paint.
Make sure to follow the instructions on your can in terms of shaking and spraying several thin coats. I covered mine in 4 coats.
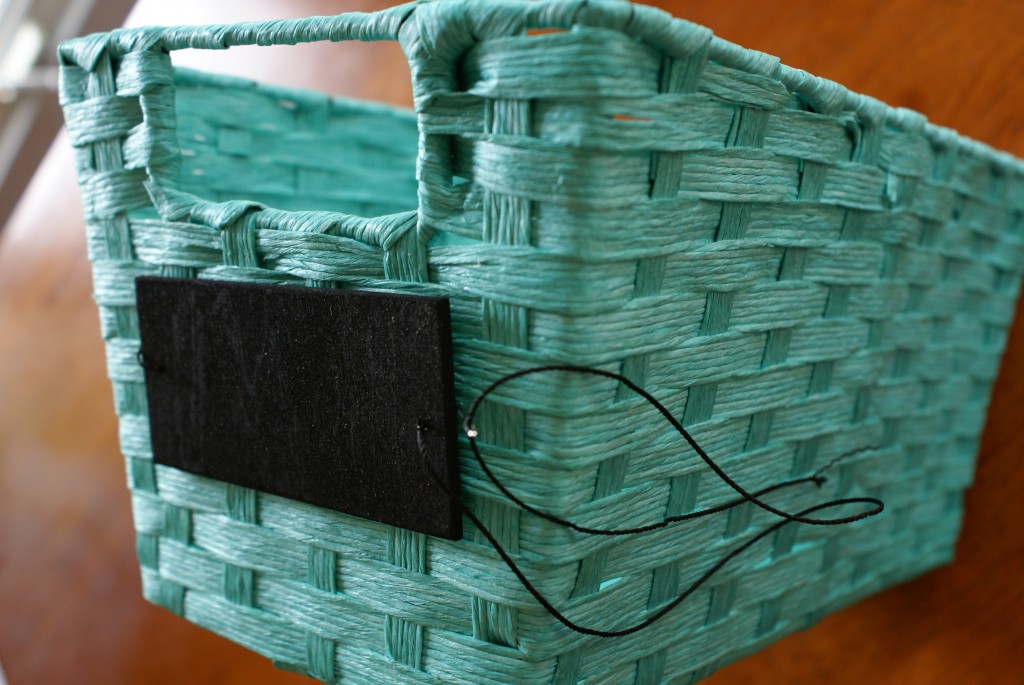
Step 4. Thread some fishing line or twine through the holes and through the basket.
My basket didn't have a lot of space in the weave, so I used a needle made for mending sail-cloth to punch it through. The string was purchased by my husband in Mongolia, so I don't know its exact type, but it is a very thin black twine. I tied the two ends of the twine together on the back to secure the label. Almost there....
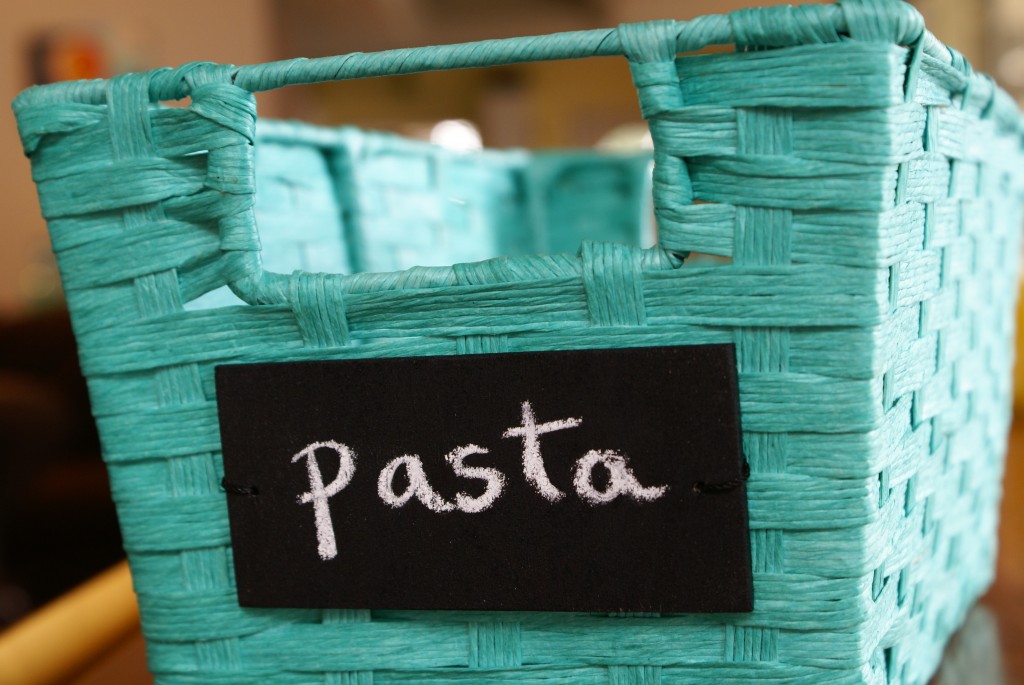
Step 5. Use some dust-free chalk or a chalk marker to complete your label.
I used chalk, but I'd recommend a marker. I think it will be easier to re-write on the labels if you don't have to press so firmly on the wood.
Step 6. Most importantly, grab a glass of peach iced tea, stand back, and admire your hard work!
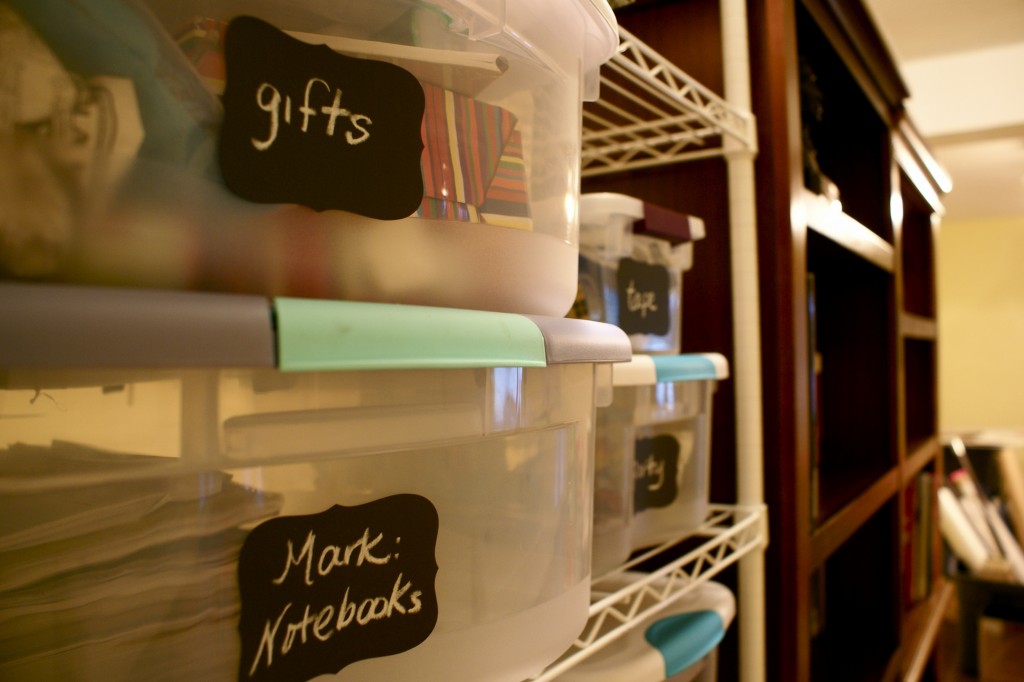
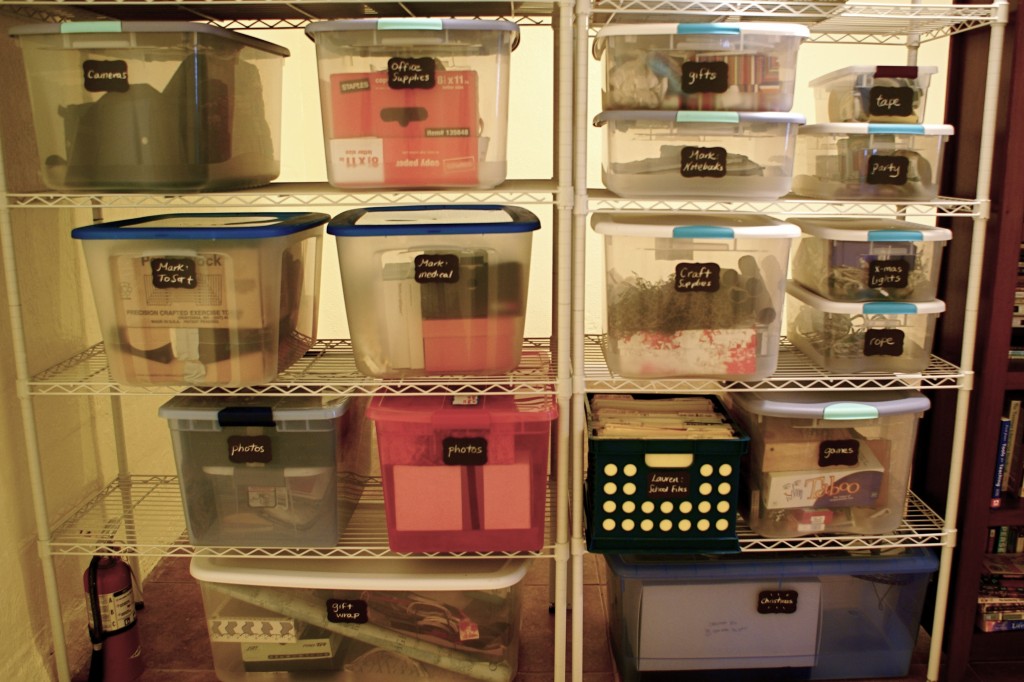
I decided to keep the chalkboard theme going downstairs with our Tupperware storage by purchasing some Martha Stewart Home Office™ with Avery™ Chalkboard Labels; Flourish, 2-1/2" x 3-3/4", 12/Pack. They were $5.99 a pack on Quill.com and were super-easy to write on. I even tested erasing one, as well as removing it from the Tupperware (as they claim to be removable) and both worked great. The lighting downstairs is far from natural, but here are a few pics:
Fun fact: they also sell chalkboard contact paper at Jo-Ann's. I mustered up all of the self-control within me and put it back on the shelf...at least until I have an actual project in mind. Here it is on Amazon.com (affiliate link).
Your Turn:
Do you have an organization system for your pantry? Or an idea for how to use some chalkboard labels? Do share!To close:
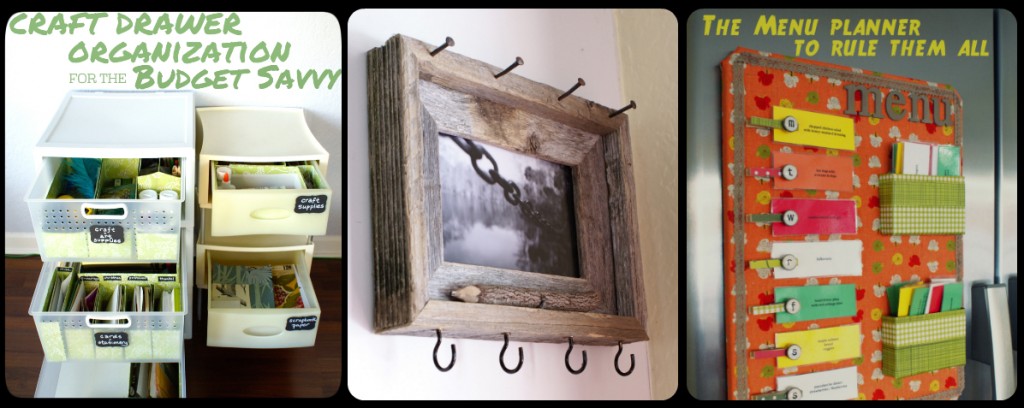
A hearty thanks and a virtual hug to my buddy, Jen, for inviting me over today to share this tutorial with you, lovelies. What a joy it has been. Know that you are always welcome to come and see me anytime at The Thinking Closet. If you've got a hankering for more organization posts, you might want to check out my Craft Drawer Organization for the Budget Savvy, my Rustic Key & Sunglasses Holder, or The Menu Planner to Rule Them All. If you do, be sure to say hi! I love to correspond with readers in the comments; it's how Jen and I got to know each other in the first place.Thanks for reading, and have a marvelous day, everyone!

Being one who is always at a loss to organize, well anything really, I LOVE this. And, in true Jacquelyn fashion...I could not resist the chalkboard vinyl at Hobby Lobby (or the markers - or the dry erase vinyl). I don't have a pantry per say, but if you walk out of my kitchen into my back part of the house and go to the right, the door where the "linen closet" is supposed to be (according to the MAN PLANS) is my pantry...and I'll get it organized, one day.
ReplyDeleteJen - hope you are having a great time and I enjoyed your Vught post!!